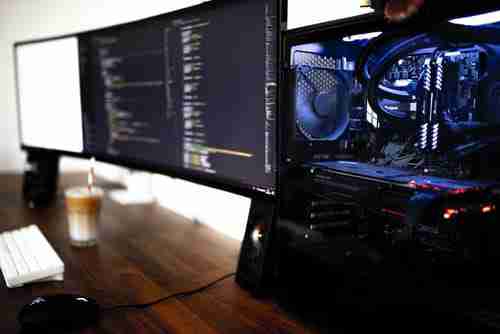
If you are an experienced gamer, you probably know that changing a graphics card can massively improve the quality of the games graphics. Changing the card is not such a complicated process if you come well prepared. In this article, we will show you how to replace your graphics card with no stress.
Uninstall Old Graphics Card Drivers From Your PC
Before installing a new graphics card, you should prepare your PC for it. First, you will need to uninstall your old graphics card drivers. To do so, go to Control panel > System > Hardware > Device Manager > Display adapters.
Scroll to the entry corresponding to your graphics card, right-click on it and select Uninstall.
Remove an Old Graphics Card
After the uninstallation process, you should physically remove the graphics card from your PC.
Unplug the power supply and all cables connected at the rear panel.
Remove the side panel to access the motherboard. (It is recommended that you verify your new graphical card has a dedicated power connector).
Check that your power supply is equipped with the proper outlet and adapters needed.
Remove the screws holding your graphics card, then push or unlock the locking system at the rear of the PCI-Express or AGP slot.
Finally, smoothly remove the card.
Install a New Graphics Card
Gently insert the new graphics card into the PCI Express / AGP slot.
Some models come with 6/8 pins PCI connector, connect them or your PC won't start.
Put the screws back and close the system unit.
Reconnect the PC and all peripherals.
Install Drivers
To make your new graphics card work properly, you will need to install drivers corresponding to your card.
You can download AMD drivers here and NVIDIA drivers here.
Start the installation procedure and follow the instructions.
Once the installation is complete, restart the computer, even if no dialog box prompts you to do so.
Congratulations! Now you can enjoy better graphics and speed while gaming.
Image: Unsplasom.