ProCreate boasts one of the most well-rounded and powerful digital artistry apps on the Apple Store, in our opinion beating out Adobe Sketch and Apple Notes. Its pressure sensitivity capabilities, brush library, and color selection settings bring users closer to the experience of physical artistry, while touching upon the vast potential of digital work.
Even their simple but effective logo implies the expressiveness of ProCreate’s software!

Begin by downloading ProCreate or ProCreate Pocket here for your iPhone or iPad, available for just $10 and $5, respectively.

The opening screen of ProCreate shows a blank gray space where your projects will appear: you can use these sections to gather art by category, practice, or client requests.
When developing a new art board, you can click the “ + ” button, which provides a few suggestions for the size and a “ customize ” button to create your own. You’re allowed to size the canvas numerous ways: by pixels or by inches, for example. Need to create a 1280×720 piece of artwork for a website banner? Easy. Need to make a 24×18 poster for a local theater? Done!
I was commissioned to make a few posters for our local theater’s ongoing horror series, so I thought I’d try doing the entire thing with ProCreate. I’m very pleased with the result! from ProCreate
Once you’re within the work screen, you can get to work!
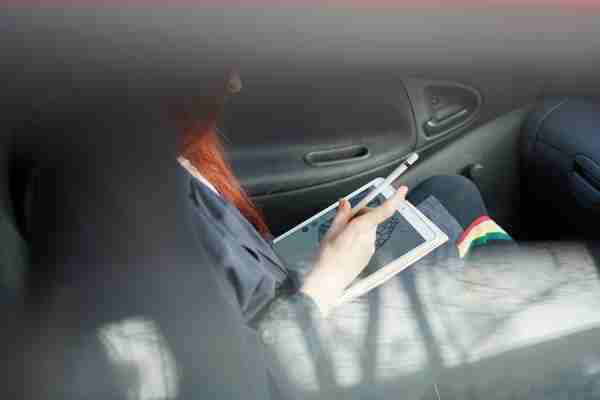
Art can begin as easily as waving a finger or Apple Pencil around; expect fast tracking and accurate lines from the program!

Is the Apple Pencil worth buying?
However, to really start working, there are a few more tools that can help create impressive artwork:
First Procreate Sketch from ProCreate
Look at the top right side of the screen and you’ll see five buttons: brushes, smudge tool, eraser, layers, and color.
The brush library contains everything from pencils to spray paints to textures, so be sure to test a few and find which ones you like best, or work for the project at hand. The smudge tool moves colors around, which helps to create the shadows and smooth surfaces possible with oil paints. “Eraser” uses a range of sizes to remove work on the layer you’ve currently selected . Which means you need to be sure to correctly use the Layers tab, which creates, moves, and removes art layers. Finally, the last tab provides a huge selection of colors, which can be made lighter or darker.
Canvas manipulation works easily by touch. Like many programs, you move the page around with two fingers and pinch or expand your fingers to zoom in and out.
There are, of course, a few other controls that can be changed: for example, ProCreate allows the user to perform a “double tap” to undo the last change to the artwork. These settings are customizable from the Settings tab.
Moving on! To the left side, you’ll see a bar that looks like this:
The two sliders control your brush size and opacity (the degree to which your colors are see-through). The button between them activates a color selector. the bottom shows your “Undo” and “Redo” controls.
Finally, the top left corner of ProCreate contains your gallery, settings, and manipulation tools:
Here, you change how colors are selected, what tap commands do, and cut/paste/move snippets of your artwork. There are a ton of capabilities! ProCreate even offers a playback option that compiles a time lapse of your project:
An evening sketch in Procreate from ProCreate
If you’re struggling to get into your work on ProCreate, remember: oftentimes, an artist must first become familiar with a new medium before they can fully realize its creative potential. We hope this article helps you achieve those goals even faster!
More from Softonic
The best ways to collaborate in Google Docs ►
How to create an easy budget in Google Sheets ►
Tips and tricks for writing a novel in Google Docs ►
Things you didn’t know you could do with Google Drive ►